Tuesday, December 13, 2011

For Freedom!!!!!


In my first post, I mentioned that I would be making kilts for an event called Tough Mudder. Here is a video that explains the event: http://toughmudder.com/video/. Nine of us decided that we would go with a Brave Heart theme and so I was asked to make kilts. I made 3 of them, 2 did wear kilts and the other 3 were made by Danish's boyfriend. Here I posted pictures of the 3 I made, sorry for the poor photos they were taken in a rush right before we left for the race.
 This is the one I made for myself: I wasn't too happy with it, I like the ones I made for the boys better. I did a simple waist band with two buttons on the side and left that side open with a slit for range of motion. The skirt has some pleads in the front, but the pictures make them hard to see. I ironed them, but they didn't stay very long except for there they are sewed at the top.I should have used some startch, or some interfacing or something to make them more permanent.

This is actually the first one I made, and I think it came out the best because I took the most time on it. And No, he is not nude under there, hes just wearing very skimpy under wear. Everyone at the even thought he was naked.

This one also came out pretty well, it was the second one I made. He has it on a little crooked, and i probly should have not made the slit so wide. I didn't bother  hemming the bottoms because these were going to get very very destroyed and I anticipated them possibly getting thrown out (which they didn't), so I didn't want to put too much effort into them. I plan on making them again, but much much nicer and with a lot more effort so it is something to be kept and cherished and not be trampled through the gorges at Tough Mudder.  By the end of the even the bottoms were very tattered. I hope to get some pictures of the ends soon and make another post about it.
As for working with flannel material, it is the best material I have ever worked with. I'm not sure why but it has been the easiest to sew, the easiest to cut, and the easiest to rip the seams if I make a mistake.

I ♥ flannel.

Friday, November 18, 2011

Ready.Aim.Fire

Here is our attempt at making some "show" arrows. By show arrows I mean only meant for visual, they may work properly but these are in no way made to fly. 
As most of you know I am just a slave in all of this and Marcus (my boyfriend) is the fanatic behind this. Well, his brother made him a replica bow for Christmas last year out of pvc and epoxy, and we only saw fit to make some bows for it.
We made them out of the regular wooden rods you can find at any craft or hardware store. They are 3/8" thick and are 31" in length (32" with the arrow tip). Sorry for the paleness of our wood, we have yet to find the right color stain for them, we attempted with the same stain we used on the leather, but that didn't turn out quite as we'd hoped. Using a dremel rotary tool, sand paper, and a file, we rounded out the butt end of the soon to be arrow and cut out a slot where the bow string anchors.
Using the same tools, we cut in a deeper, wider slit according to the size of your arrow head. We made the shit only as big as we need to, the arrowhead should fit in snugly and will make the fastening easier and more secure. Then, we sand it down to a point. Through trial and error, we found it best to make the slit before we brought it to a point.
Next, we placed a little of hot glue down at the belly of the slit we made and began wrapping the arrow head in place for both looks and structure. We used dome twine covered in wax that we found in the bracelet/ bead section at walmart. The one on the left is the second one we did, so it came out a little neater. We tacked down the first little bit of string with some hot glue to keep it in place. We did not need to tack down the last one since it is covered in wax, you can squeeze it down into the rest. This part takes some practice and patience so it comes out nice and neat.
Next, we come to glue the feathers on. We used fletching which is a hard turkey feather. It came with rounded edges so we just trimmed them with regular scissors to give them the hard edges we prefer. Marcus likes to put the hot glue right onto the wooden rod and then place the feather on top, but I like to put the glue on the feather instead, either way works fine. It is a little hard to press the feathers down onto the wood firmly with your hands so we used a glasses case to hold the feather. You could probably use a hinge, or a book. Make sure you glue the feathers down about a half an inch from the butt of the arrow to give your self some finger space (see pictures). 
Once they are glued on, we took the same wax twine and 
wrapped the feather with it for both looks and structure. Marcus likes it at closer intervals but I like it spaced out. Either way works fine, but closer intervals gives you more support, of course. We tacked the beginning of the string the same way as we did with the arrows. This part takes a little bit of patience too. You kinda have to wiggle and position each section to get the right spacing and make sure the individual strands of the feather down get too frayed, bent, or damaged.


Let Us Know What You Think!


Saturday, November 5, 2011

Pretty in Purple. Malon update #1

 I began making my costume for Malon from The Legend of Zelda, way before I even attempted to make the Link tunic you see in previous posts. I got frustrated with the fabric not falling the way I had imagined. I wanted it fitted at my waist and as ita fell, I wanted it to fall loosley and wave, using only one seam at each side. So now I've been inspired by another cosplayer, I am taking another try at it, but I am completely starting from scratch. When I first started I was obsessed with not having any seams since the video game doesn't feature any seams and neither do any of the cosplayers I admire.
As you probably know, I like to give costumes a more realistic vibe. So I posted a thread on Cosplay.com asking how others felt about adding realistic twists to costumes and one of the members whom replied to my thread gave light to the idea that most characters are stylized because of game graphics, with the time it takes to make the game, extremely detailed clothing is unrealistic. This is why I decided to change my mind set when it comes to making Malon's skirt, completely forget about seams and completely start from scratch, new fabric and all. Forgetting about the seams also allows me to get the wave and fall I am looking for.
After a nice lengthy trip to Joann's Fabrics in Plantation, I came up with this. XD

And then I realized that the appliques are BLUE!!!! Ive seen sooo many cosplayers do them purple, I thought they were purple. So I went back and found the most perfect blue fabric for the strips.


All of the fabrics together.


I also made another trip to Daddys Leather Supply in Miami. I got another raw leather strap and used the same dye we used for the Link belts so they match. :} I got that weird vintage belt buckle that I am using as a base for the belt buckle so that the belt functions like a real belt and its stirdy. The blob of leather to the left is being used to cover the buckle. Once I cover up the buckle I am going to put the triforce and its frame over that. The whole point of covering the belt buckle is so that it looks like the belt is showing through behind it like in her picture.

Monday, October 31, 2011

Sneaky Linky Halloweeennnie

The Link costume I've been making is not done, but it is wearable. I still have small details to add to it. My original plan to get all the fine details done was Halloween, but due to a series of unfortunate events, that couldn't happen. I am happy with the responses we are getting so far. We got rained on so, everything isn't as nice as id like them to be in these pictures.
We are in the process of scheduling a juicy photo shoot with a professional photographer for the costume.
I guess this could also be considered a sneak peak.

I will also be uploading pictures of the nitty gritty kind for all the fine details when I have them all completed.

Please post critique and comments. I'd love to hear what you guys have to say!

Thursday, October 27, 2011

Sneak peak: Link Teaser

First picture taken of the costume and being my follower gets you the exclusive view
Published with Blogger-droid v1.7.4

Wednesday, October 26, 2011

Getting Strapped, *****!

Ocarina of Time Link

Link wears several belts across his abdomen. He has his sword strap, which we bought online (We are using the Ocarina of time strap) and he also has one across his waist, and one connecting his sword strap from his chest to his back (twilight princess). If this is your first time reading this blog, my goal behind link is to incorporate different elements for different links and give it a realistic vibe.
So, after buying the sword strap, it was very hard to find belts of our desired width and color. We searched EVERYWHERE, and we couldn't find anything that matched as well as we like.
I ended up meeting a man named George who owns the company Tactically sharp who makes custom knives, leather sheaths, and many other things. He told me about all his various crafts and pointed me into the right direction for where I could find some leather materials. He told me about a place called Daddy's Leather Supply in miami. We went there, and although they didn't have exactly what I needed, they told us exactly how to get it. We bought some raw leather traps from them, the PERFECT dye, and the belts came out perfect! The guy over there really knows what he is talking about. 
The dye we used has a ton of stain power, We didn't wear gloves, but I suggest you should. We laid out some garbage bags to protect the tile in the back yard. It was a windy day, that's why we have a ton of random things laying around.   I also suggest you do this in a well ventilated area because although the dye smells kinda good, it probably is really bad for you. Also, make sure the area you are working in is completely dry. We got water on one of our belts and it made the color come out pretty weird.


The raw material

The dye we used.
The dye comes with what looks like a huge cotton swab, and that what we used to dye the material. I found it a little hard to believe that the color 'light brown' was going to achieve the color we wanted. But as soon as we showed the man at the leather show the strap we already had, he was very confident that it would do the job. He told us that it was better to start light, and slowly add layers until we had the desired color. He was right on the money with that. It only took us 2 or 3 coats to get it the perfect shade.

After the first coat.
This here is the finished product. Although it is hard to tell from the pictures, the raw material as I guess is what you can call 'grain' and once we were done it was really showing through. When we were done adding coats of stain, we didn't quite like the appearance because it looked very uneven, and there was this weird patchy shine about the dye. I was getting a little disappointed. Then Marcus told me that the man at the leather shop told him to wipe the leather down with olive oil when he was done and that made all the difference. I took a paper towel with a little but of olive oil soaked into it and I rubbed the entire length of the strap. This ended up evening everything out, took away the weird shininess, and revealed all the "leather grain". I cannot wait till i can find another reason to dye some leather and have another trip to that leather shop. This was pretty entertaining.
The thinner belt kind of shows some of the shine I spoke about.


The comparison. I think its perfect!


Since this final picture here on the left, the leather has changed, it has absorbed the stain a little more, I guess and looks even better. You guys can see it again when I post the pictures of the final costume reveal. Wish me luck, stay tuned!


Don't forget to look out for the giveaway I have coming soon!

Published with Blogger-droid v1.7.4

Friday, October 21, 2011

Link Ears Mock#1

            As most of you know, I am my boyfriend's little Zelda Cosplay slave.
So this is my first attempt at using latex at all. I tried to find some grease mask paint or some RMG make up but it either wasn't afforable, or wasn't in "people" colors. I settled for some liquid base by loreal in buff beige, a cream/ mouse by CG True blend #415 Natural Ivory, and a CG blush (for the realistic red tones) Instant cheek bones #210 PCH PRF.

Think everything about < that ear came out better. It was the second one I did out of the two.

I used spirit gum to attach the ears. First, I put the ears on him and marked how far the ears came down with a marker. Then I soaked that baby up, tacked it with a sponge brush and held it down with my fingers for about a minute. I let it dry for a few minutes and then touched up some areas that didnt stick so well. The ears weren't originally this shape. The original latex ears hung down over the concha of his ear quite a bit, so I glued them on and trimmed them with cuticle scissors to match the shape of his ears.
I wish I would have taken a before picture of the ears, unattached and unpainted, but I didn't. The ears were very very light and very unrealistic looking. It took me quite some time to get them the right color. I used a q tip to
His natural ear.


 apply the liquid latex at the seams of the ear. I did so over 5 or 6 coats. Next time, I'd like to use a brush and see how that comes out. I think the brush will give it a smoother, more disguised appearance. I'd also like to use a lot less latex next time because it doesn't absorb the make up the same as the latex ear.

Links ears in most of the video game are WAYYYYY bigger than the ones we got. We did this on purpose. We are also trying to mix different links into one. You will see what I am talking about when I post more pictures of the costume. We are going for a more realistic link. Almost like our own interpretation of Link, rather than replicating the actual video game. The ears we are doing are very similar to toon < links ears.

I'm pretty happy with this as my first attempt, let me know what you guys think. Thanks for reading!!! Stay tuned, lots of juicy stuff is on the schedule!

Saturday, October 15, 2011

Where art thou minion?

So me and Danish finally got around to making our Despicable Me Minion goggles. We are using them for our halloween costumes, which I will be updating as we go. Im sooooo EXCITED to finally wear them. 
We used 2" pvc, vinyl bumpers, wire to connect the two and make them flexible, epoxy, crazy glue, some rust stop oil based paint, straps, and some strap adjustors, sand paper, weather stripping (so it doesnt hurt our faces). Every single item that I used here was found in a local mom and pop hardware store.
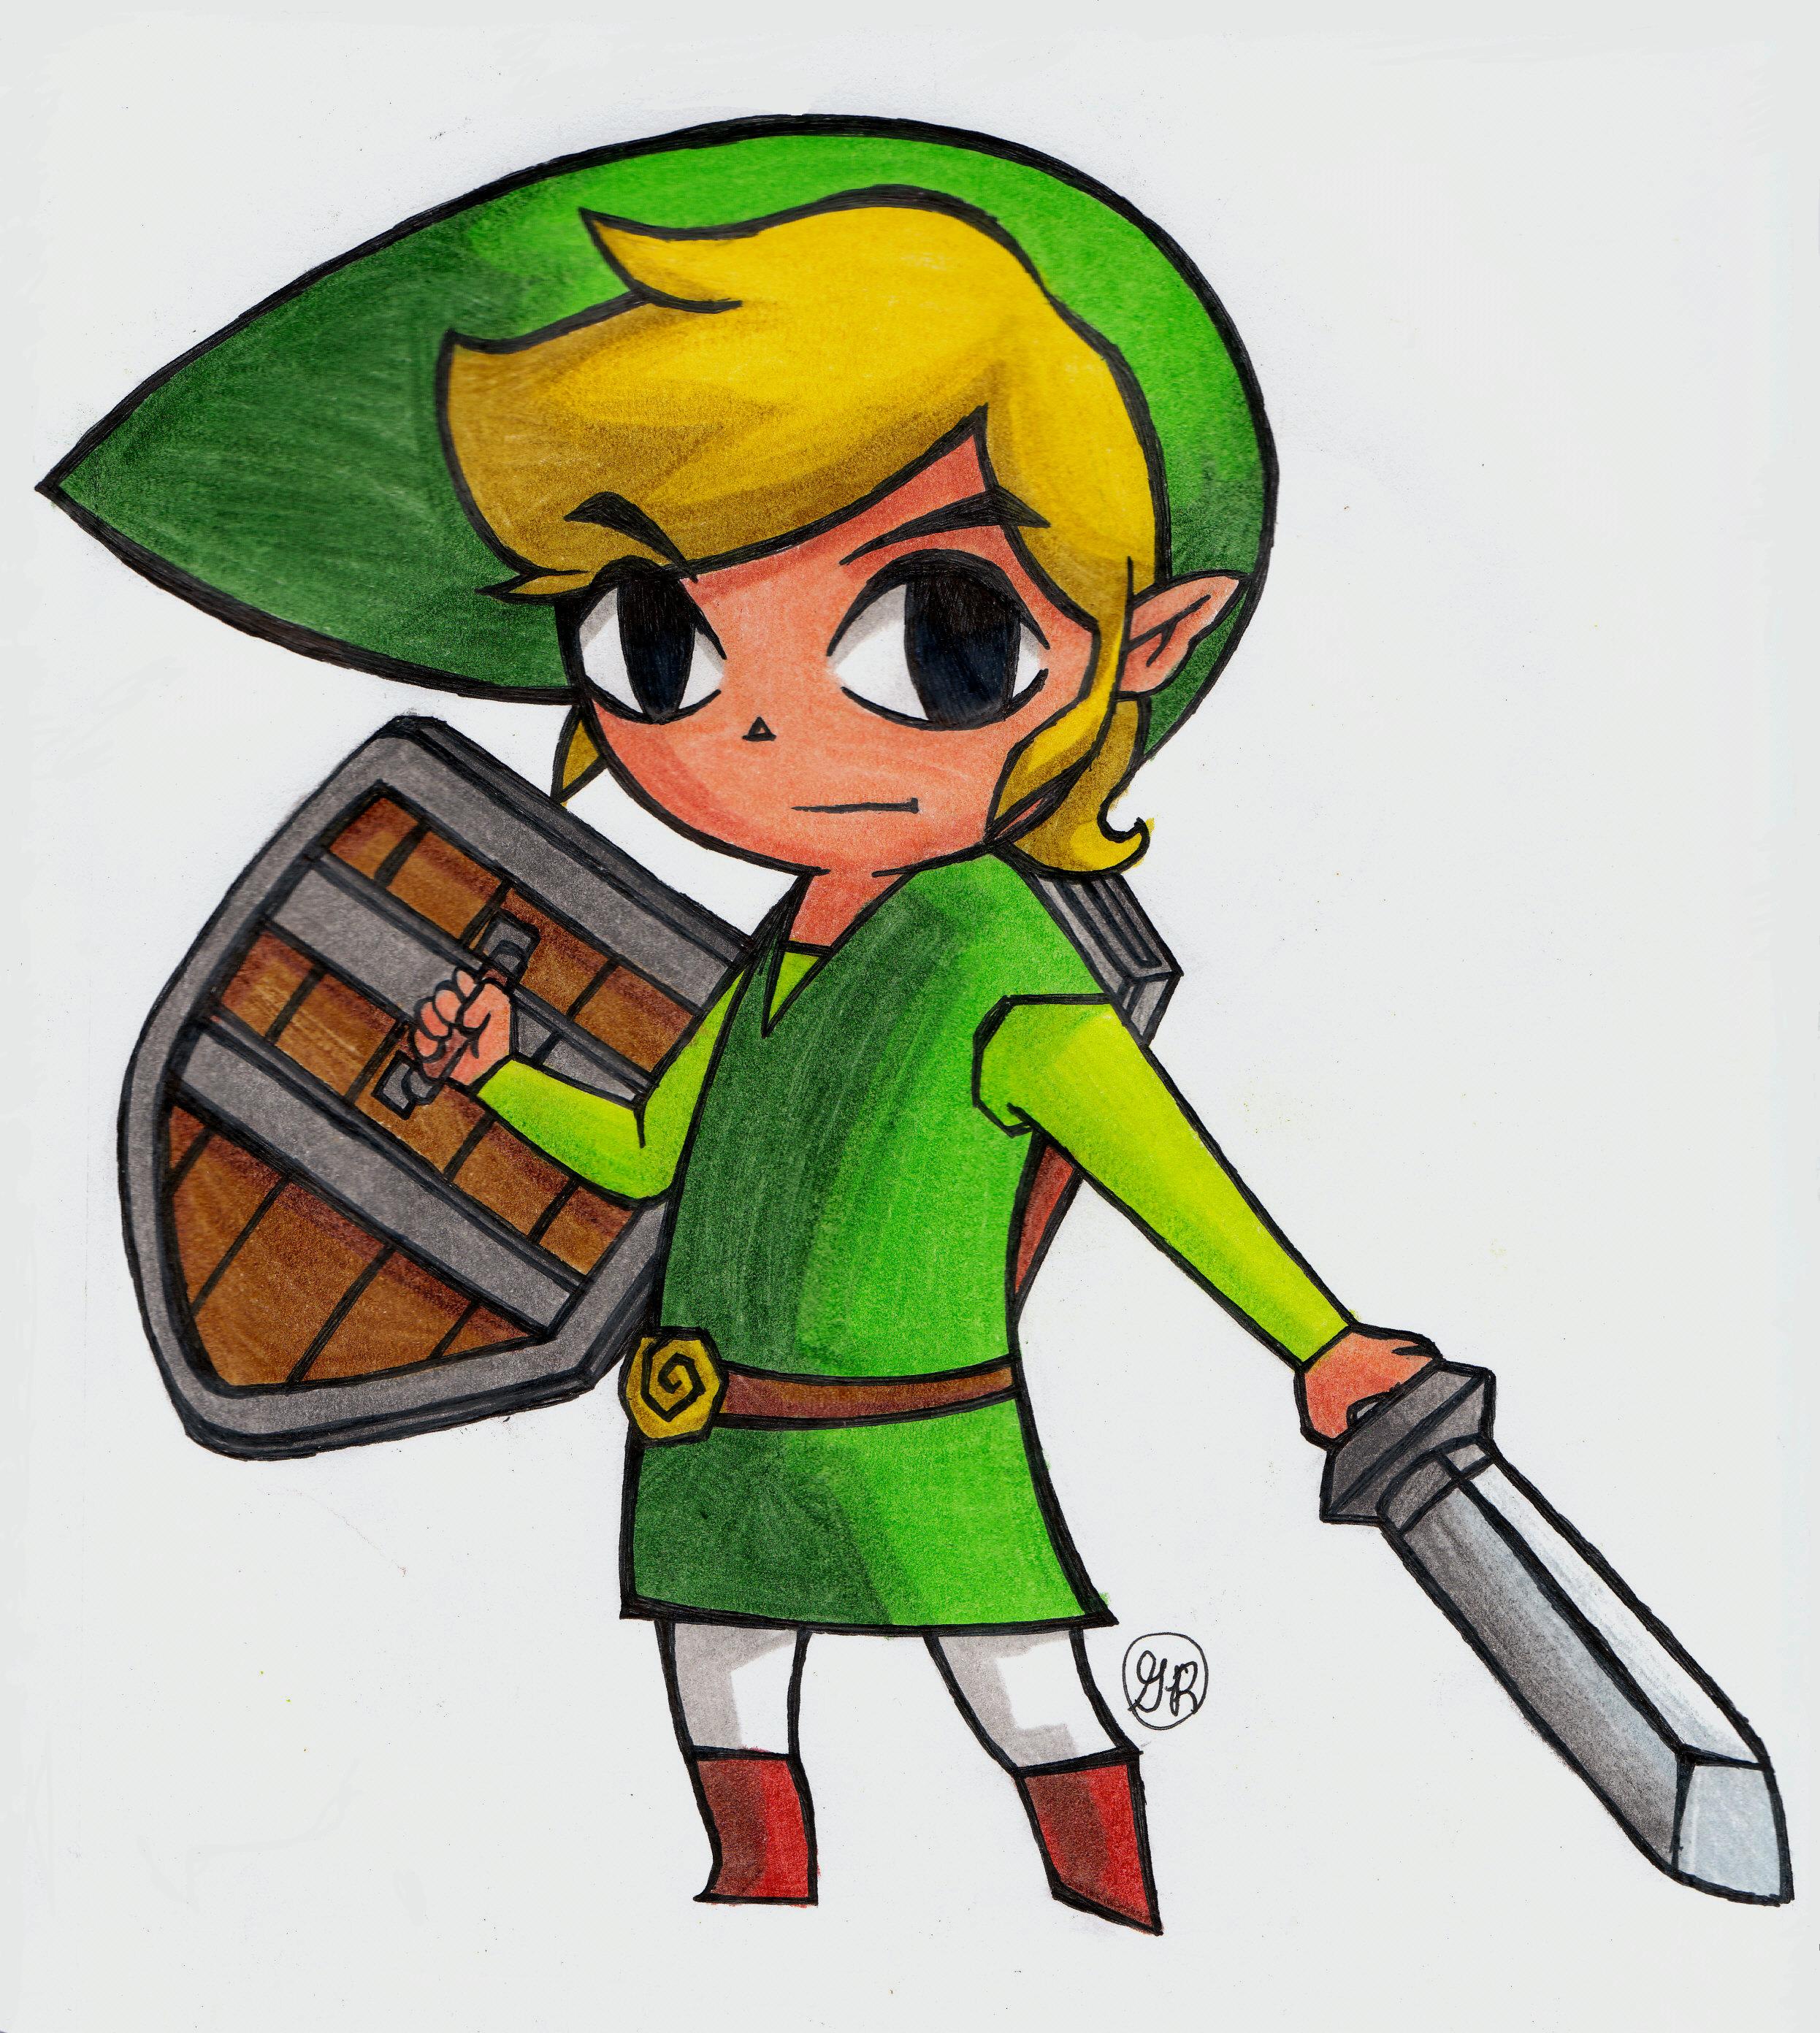
I would really like to ad some lenses that would make my eyes look huge, but I have not found anything that I could see through. =(
The minions have a silver clasp on the side of them (what they would use to tighten them) so I just put come quick connectors on the side of them.
 I guess we did a pretty good job ad them seeing that I look preeetyyyy rediculous wearing them. The two "googles" are supposed to be connected, but seeing as I have a nose, thats kinda impossible.
Published with Blogger-droid v1.7.4

Tuesday, October 11, 2011

New Beginning

My name is Ana. I am creating this blog to feature my various crafts and costumes I make and a place to feature those of you that wish to post their crafts, DIY, cosplay, revamping, ask for help, get ideas, etc.

Id like to make this blog to feature all things CREATION.

I am working on a few projects:
Despicable minion halloween costumes with Danish
My longest on going project: A link costume combining a few games in a realistic light
Mirror shield from the Zelda Video game
Rupees from the zelda video game with the help of Danis
Zorro Shirt
Kilts for tough mudder