 Here is our attempt at making some "show" arrows. By show arrows I mean only meant for visual, they may work properly but these are in no way made to fly.
 As most of you know I am just a slave in all of this and Marcus (my boyfriend) is the fanatic behind this. Well, his brother made him a replica bow for Christmas last year out of pvc and epoxy, and we only saw fit to make some bows for it.
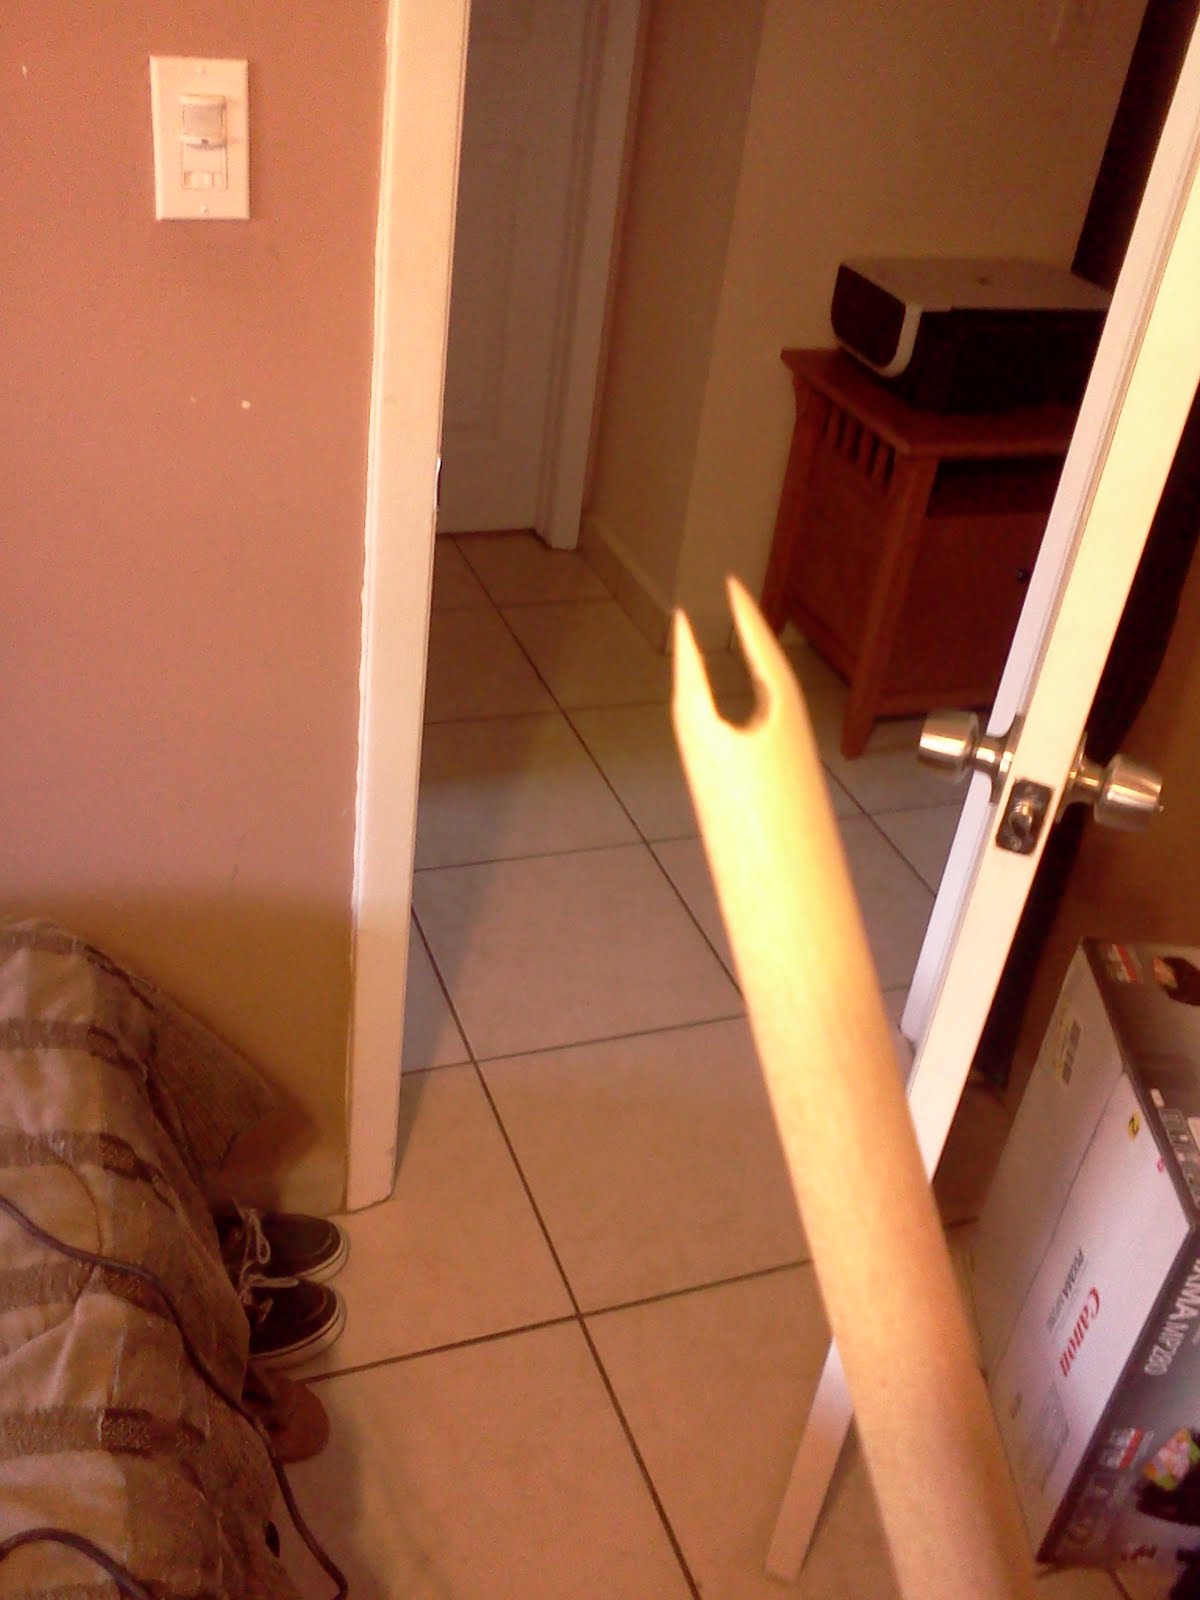
We made them out of the regular wooden rods you can find at any craft or hardware store. They are 3/8" thick and are 31" in length (32" with the arrow tip). Sorry for the paleness of our wood, we have yet to find the right color stain for them, we attempted with the same stain we used on the leather, but that didn't turn out quite as we'd hoped. Using a dremel rotary tool, sand paper, and a file, we rounded out the butt end of the soon to be arrow and cut out a slot where the bow string anchors.


 Using the same tools, we cut in a
  deeper, wider slit according to the size of your arrow head. We made the shit only as big as we need to, the arrowhead should fit in snugly and will make the fastening easier and more secure. Then, we sand it down to a point. Through trial and error, we found it best to make the slit before we brought it to a point.
 Next, we placed a little of hot glue down at the belly of the slit we made and began wrapping the arrow head in place for both looks
 and structure. We used dome twine covered in wax that we found in the bracelet/ bead section at walmart. The one on the left is the second one we did, so it came out a little neater. We tacked down the first little bit of string with some hot glue to keep it in place. We did not need to tack down the last one since it is covered in wax, you can squeeze it down into the rest. This part takes some practice and patience so it comes out nice and neat.
  Next, we come to glue the feathers on. We used fletching which is a hard turkey feather. It came with rounded edges so we just trimmed them with regular scissors to give them the hard edges we prefer. Marcus likes to put the hot glue right onto the wooden rod and then place the feather on top, but I like to put the glue on the feather instead, either way works fine. It is a little hard to press the feathers down onto the wood firmly with your hands so we used a glasses case to hold the feather. You could probably use a hinge, or a book. Make sure you glue the feathers down about a half an inch from the butt of the arrow to give your self some finger space (see pictures).


Let Us Know What You Think!
No comments:
Post a Comment